After completing this lesson, you’ll be able to:
First, we will import a pre-made project file and follow the steps for excluding items. Then, we will create our own project file to export.
On the FME Flow UI, select the Projects heading. This will take you to the Manage Projects page, which will show you any currently imported projects.
Click on the Import button to select a project file to import.

You can upload a .fsproject file directly by navigating to C:\FMEData\Workspaces\PublishWorkflowsToTheWeb\exercise-run-a-workspace-in-fme-flow.fsproject.
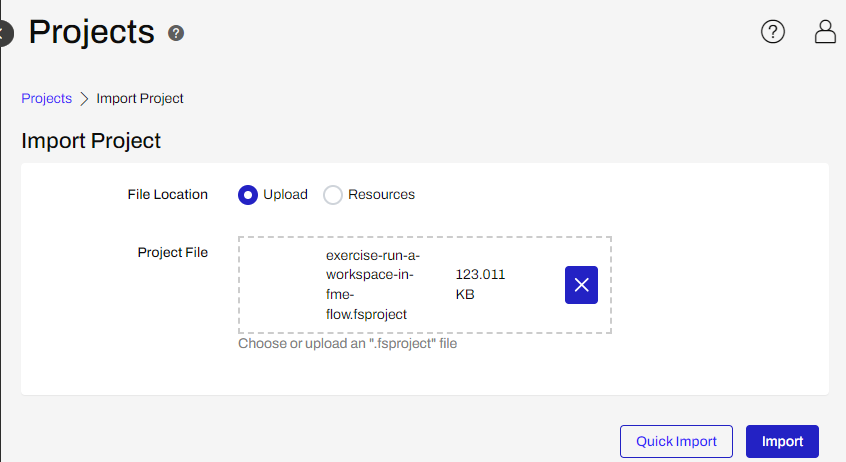
Quick import will import the entire project and not allow you to select which items specifically to include or exclude. You will still be given the option to overwrite items if they already exist or not.
The Import button allows for more fine-tuned control over what is imported. For this exercise, either method is fine. The second and third steps for the Import Project do not provide any items because this is a simple example that does not have connections, tokens, or different owners for those items.
After importing the project, you can click View Details to see the log file which shows what was imported and created, and if the process was successful or not.
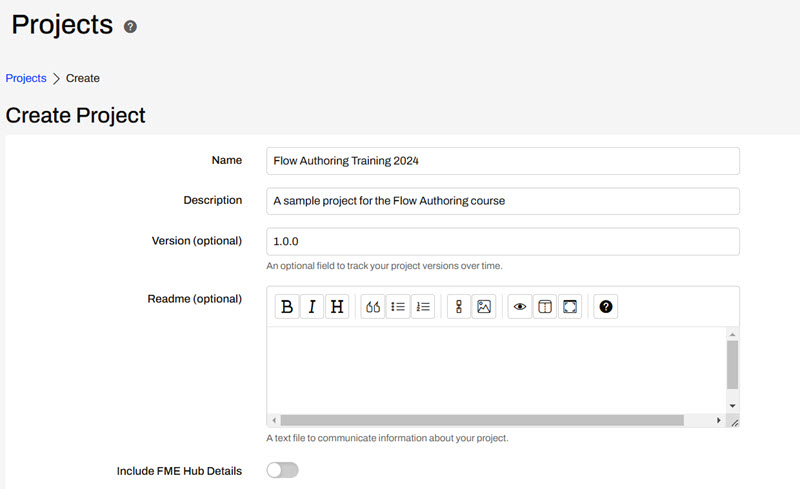
Click on the “Create” button on the top of the Projects page to navigate to the Create Project page. Fill out the name and description for your project.
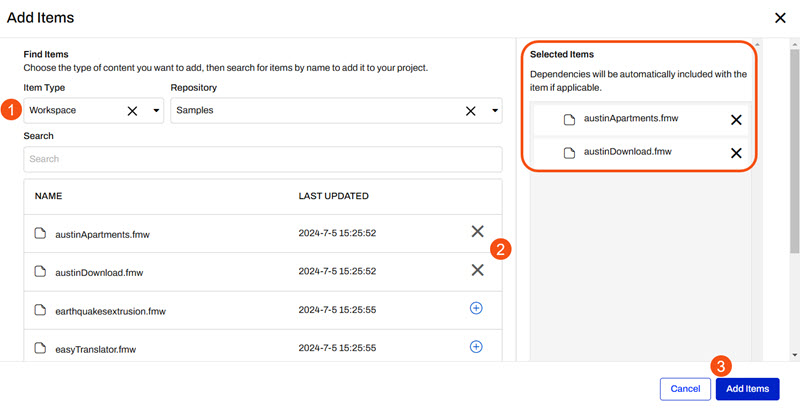
Under Project Contents, click on the blue box “Add Items” to select which items to include in your project. A project can include just about any FME Flow object you create or upload, see our documentation on Projects for a list of items that may be included in Projects. In this exercise, we will create a project of Sample workspaces using data from the City of Austin.
First, select "Workspace" from the "Item Type" dropdown, followed by "Samples" under the "Repository" dropdown. Click the blue + buttons to add the austinApartments.fmw and austinDownload.fmw workspaces.
Then, click “Add Items” in the bottom right corner to put them into your project.
Optionally, add any other items on FME Flow to your project. If you're taking an FME Training course, you can add the Food Vendors Automation to the project and see the dependencies that are included with it.
Click Save to finish creating this new project.
You can now view the details of your project, including who owns the project, when it was last updated and by which user. You can also see what items have been added, what type of item it is, when it was updated, who owns it, and if there are any dependencies to that item.
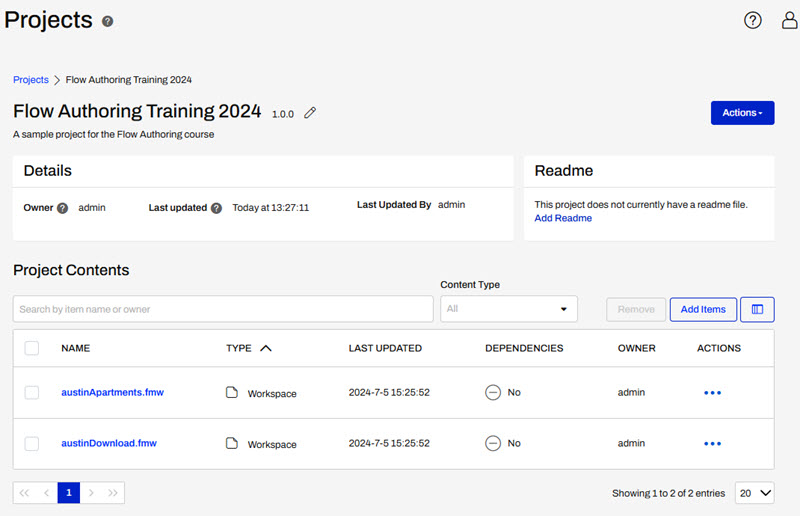
These workspaces do not contain any dependencies, however if they did, the expanded Actions options allow you to view a list of the dependencies for each item.
To export a project and download the project file, navigate to Projects > Manage Projects
Select which project you want to export by checking the toggle next to the project name, and then click the Export button in the top right. Currently, only one project can be exported at a time.

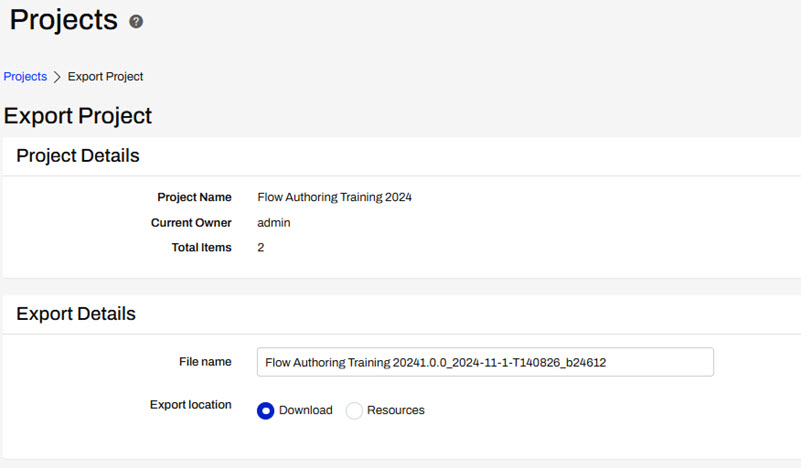
The Export Project page asks you to choose a file name for the project, set the project export location, and configure Security Settings.
Security Settings are important to consider on your own FME Flow, and you should be aware of encryption requirements. Default encryption was introduced in FME Flow 2023.1 and in order to import projects containing sensitive information, the encryption key needs to match or be imported to FME Flow ahead of importing the project. If you are using a Safe Software provided machine for the Flow Authoring course the encryption has been set to weak. For more information on this, please see our documentation on Encryption.
For this training, deselect "Include sensitive information" to ensure encryption is not required.

Next, click export and your file will be downloaded to your computer or to the specified resource location.
